Showing posts with label recipes. Show all posts

Monday, April 11, 2011

Dark Chocolate Almond Banana Muffins

What's that you say? A recipe? Shocking I know, as I hardly ever post them anymore. Recently I read Julia Child's "My Life in France" (which I adored), and although I know this is the exact opposite of what she intended, it made me a little more timid about improvising and making things up in the kitchen. That, and all of my recipe-reading, Top Chef-watching, foodie-blog obsessing made me feel a little less-than-qualified to be writing about food. Don't get me wrong - I love food (love it, especially now), and love making things from scratch, reading recipes, taking pictures of the food I make, etc. I'm definitely a foodie - but one who creates her own things? I don't know...


But, tonight, we had this bunch of brown bananas, and it seemed like time to make banana muffins. I've made this Moosewood Restaurant banana muffin recipe many times, but I was missing my usual chocolate chip/walnut combo. Then, I found half a bag of Hershey's Special Dark nuggets with almonds in my cupboard and it was time for a little improv. Just a little. 


Dark Chocolate Almond Banana Muffins
adapted from Moosewood Restaurant Book of Desserts


2 cups unbleached white flour
1 teaspoon baking powder 
1 teaspoon baking soda 
1/2 teaspoon salt 
1/2 cup vegetable oil
3/4 cup packed brown sugar 
2 eggs
4 ripe bananas, mashed
2 teaspoons vanilla extract 
1/2 cup (or so) coarsely chopped dark chocolate with almonds


Preheat oven to 350. Lightly oil a 12-cup muffin tin. In a medium bowl, sift together the flour, baking powder, baking soda, and salt. In a large bowl, using a mixer or by hand, beat together the oil, sugar, eggs, and bananas. Fold the dry ingredients into the wet ingredients, being careful not to overmix. Fold in the vanilla and chopped chocolate. Spoon into muffin tins and bake for about 20 minutes, until a knife inserted into the center comes out clean. 

Enjoy while warm as a bedtime snack with a glass of milk. And don't forget to improvise.

Friday, November 26, 2010

100% From Scratch Pumpkin Pie

I cooked all day yesterday, just for the three of us. I made nearly everything - except for the butter, the drinks, the bread for the stuffing, and the fried onions for the green beans - from scratch. Even the mushroom sauce for the green bean casserole was from scratch. It was warm and sunny. We cooked with the windows open, peeled potatoes in our shorts.
It was a non-stop kitchen extravaganza, but we did find time for playing games - Candyland and Memory - while the chicken roasted. I couldn't see roasting a turkey for two adults and a toddler, so we had chicken with herbs. 


As we sat down to dinner, the song we danced to at our wedding - I've Got You Under My Skin - came on. It seemed like a sign - a sign of all that we have to be thankful for, a sign of commitment and what it really means to be in a committed relationship, a reminder that everything about us - even our beautiful girl - starts from one tiny, simple, sacred space together. 


It was a beautiful day, and the only thing that would have made it more beautiful would have been if our table could have somehow magically been surrounded by all our friends and family, all the people we love so much, living or not. That would have made the meal absolutely perfect. 


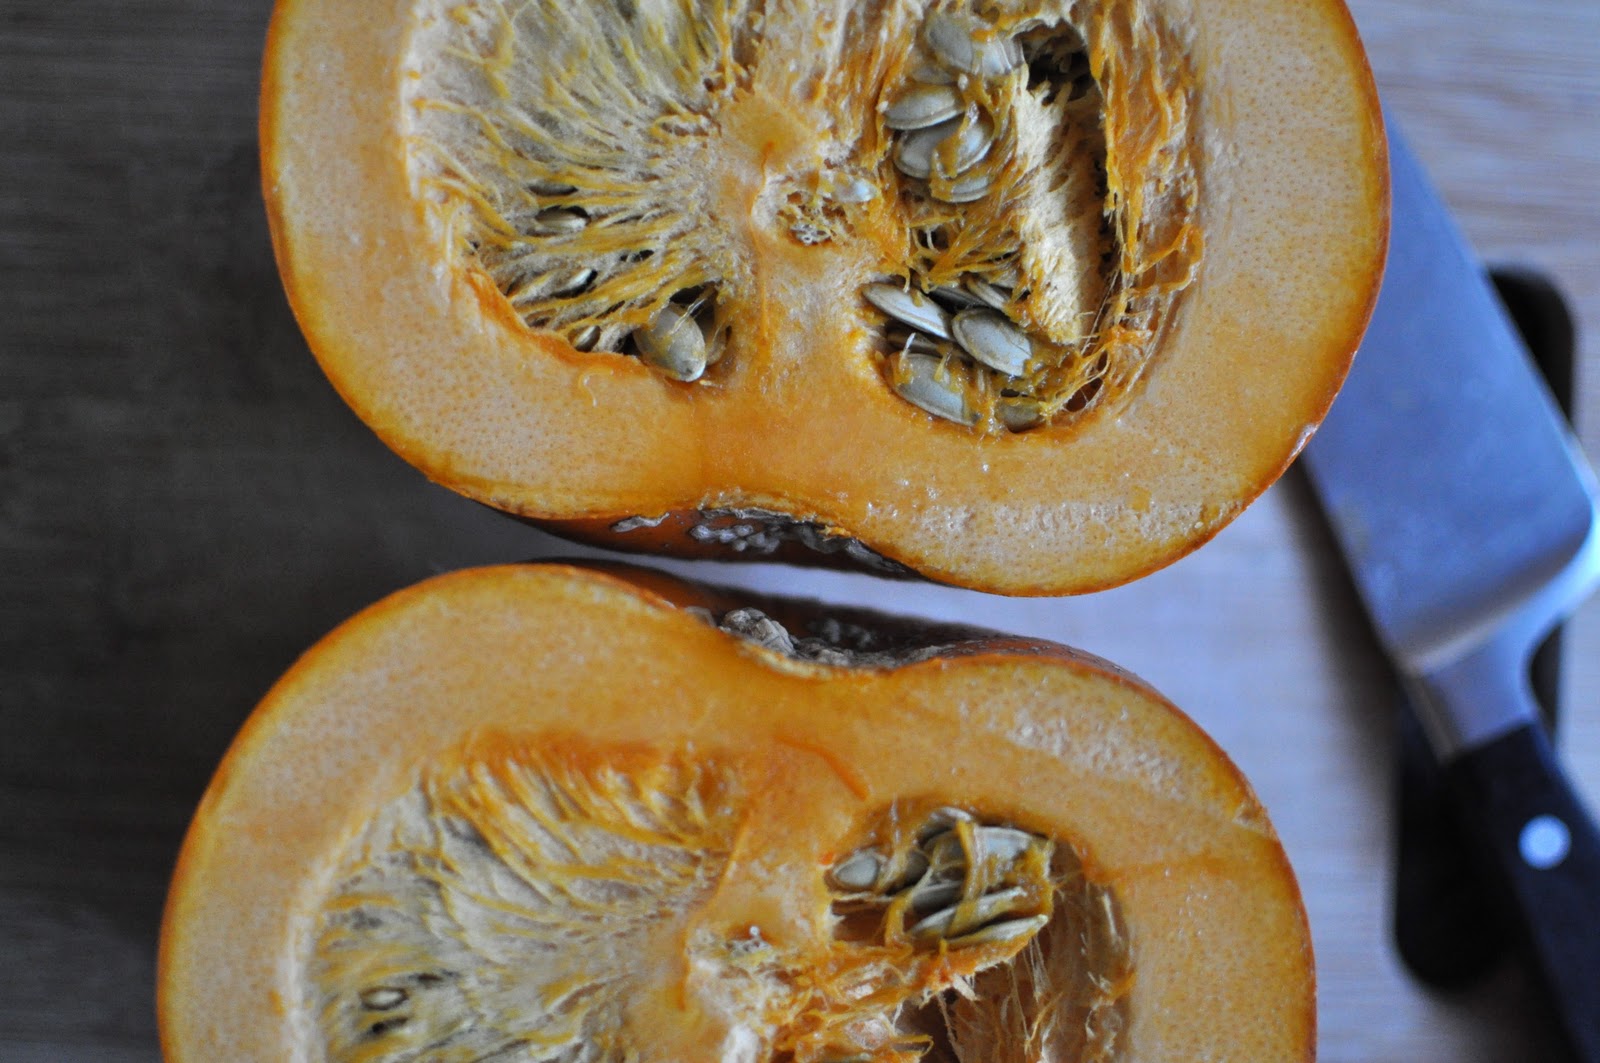
Most of what I made came out well, but not everything. The mashed potatoes weren't quite right, and the bread cubes I cut up for the stuffing were too large. The best part, without a doubt, was the 100 percent from scratch pumpkin pie. I've never before made a pumpkin pie that started out as an actual pumpkin, and now that I have, I'm not sure I'll ever make another one that starts out as a can. This pie was so absolutely perfect - great texture, delicious pumpkin-y taste - that the minimal (and I mean minimal) extra effort needed to roast the pumpkin instead of opening the can was completely worthwhile. The best part - even better than the fact that I still have about half of this pie left - is the fact that I have another pie pumpkin from Flying Cloud Farm in my collection of winter squashes, patiently waiting for its destiny in my pie plate. 


 100% From Scratch Pumpkin Pie 


For the crust: 

I use this recipe from Martha Stewart for my pie crusts. For this particular pie, you can halve the recipe. 

For the filling: 

1 whole, honest-to-goodness pie pumpkin 
2 large eggs 
3/4 cup brown sugar 
1/2 teaspoon salt 
1/2 teaspoon vanilla extract 
1/2 teaspoon ground ginger
1/2 teaspoon cinnamon 
1/4 teaspoon nutmeg 
1 cup half and half 

Preheat the oven to 425. Line a rimmed baking sheet with tin foil or parchment and oil very lightly with vegetable oil. Without scooping out the seeds, roast the pumpkin, cut side down, until tender and browned - about one hour. Allow to cool completely. Discard seeds and scoop flesh (even browned spots) into a medium bowl. Puree using an immersion blender. When smooth, press through a fine mesh sieve into a large bowl, discarding any solids left in the sieve.


To the pumpkin add the eggs, sugar, salt, vanilla, and spices. Whisk until combined, then whisk in the half and half. 

Reduce oven temperature to 375. Place the pie crust in a 9-inch pie dish. Line the pie crust with tin foil, and fill with pie weights or dried beans. Bake until firm, about 20 minutes. Allow to cool for about 15 minutes.

Reduce oven temperature to 350. Pour prepared filling into baked crust. Bake until set, about 1 hour. Allow to cool on a wire rack for one hour before slicing. Serve with homemade whipped cream, and kiss those cans goodbye.


Tuesday, July 27, 2010

freshest-ever eggplant parmesan

We are thoroughly enjoying summer's bounty here, plowing through week after week of CSA boxes from Flying Cloud Farm. It's been hot, too - far too hot to turn on the oven, but I did yesterday to try making eggplant parmesan using all produce from our box. We were sweating while we ate it, but it was delicious!


My mother never made eggplant parmesan, but I have an early memory of eating it at a dinner at a neighbor's farm. My parents sold flowers - zinnias, snapdragons, cosmos - at the local farmer's market when I was young, and through that became friends with farmers around our area. Among those farmers were Art and Peggy Gish, peace activists whose farm in hilly southeastern Ohio was open to a variety of transients and visitors, where the only payment for room and board was made through laboring on the farm. The Gish's raised all variety of unusual vegetables, Asian greens and kohlrabi and eggplant. The dinner was vegetarian, served at a large table surrounded by men with long beards and women in skirts and sandals. The eggplant parmesan was, to me, exotic and delicious, unlike anything I'd ever had. In truth, it was not exotic. I know now that the ingredients were chosen simply because they were in season, but at the time I found the entire experience - the food, the people, the communal way in which the meal was prepared and cleaned up after - to be intriguing and beautiful.


I'm not sure this eggplant parmesan lives up to the meal I ate with Art and Peggy all those years ago, but it does follow in their path by using seasonal, local ingredients at their peak of harvest. 


Freshest-Ever Eggplant Parmesan
(adapted from Martha Stewart Food) 

olive oil 
1 egg 
1/2 cup breadcrumbs
1/2 cup shredded parmesan + 2 Tablespoons (I used pecorino romano) 
1 teaspoon dried oregano
1 teaspoon dried basil 
coarse salt and freshly ground pepper
2 - 3 small eggplants, peeled and sliced into 1/2 in rounds 
5 vine-ripe tomatoes
3 cloves garlic, crushed
1/2 cup fresh basil leaves, sliced 
1 Tablespoon tomato paste
1 cup shredded mozzarella

Preheat oven to 375. Line a baking sheet with foil and brush with olive oil. In a shallow bowl, whisk the egg with 2 Tablespoons water. In another shallow bowl, stir together the breadcrumbs, 1/2 cup parmesan, oregano, and basil.  Season with salt and pepper. Dip the eggplant in the egg, then dredge in the breadcrumbs to coat. Place on baking sheets, then bake for about 20 minutes, until browned on the bottom. Turn over and back for another 20 minutes, until golden brown. 

Meanwhile, set a medium saucepan of water to boil. Score the bottom of the tomatoes with an x and drop into boiling water for about 30 seconds, until the skin starts to loosen. Drain in a colander and rinse briefly in cold water until cool enough to handle, peel, and core. Over a medium bowl, coarsely chop the peeled tomatoes, retaining all the liquid from the tomatoes. In a medium saucepan, heat 1 Tablespoon olive oil over medium heat. When hot, add the garlic and saute briefly, until fragrant. Add tomatoes, season with salt and pepper, and bring to a boil. Simmer for about 10 minutes, until beginning to thicken. Stir in tomato paste and fresh basil. 


In a square baking dish, spread about 2 cups of sauce. Layer about half the eggplant slices over the sauce, top with more sauce, and sprinkle with half the mozzarella. Repeat layers, ending with mozzarella. Sprinkle with 2 Tablespoons parmesan. Bake uncovered for about 15 minutes, until lightly brown and bubbling. Let stand about 5 minutes before serving.

Enjoy with an assortment of friends, toasting the season, peacemakers, and the bounty of summer.

Monday, July 5, 2010

lemony kale ravioli

Approaching the one year anniversary of this blog has reminded me that one of my original intentions with it was to write and post recipes, and my photographs of them. As the blog has evolved, I've gotten further away from doing that. Coming up with new recipes takes time, of which I seem to have very little these days. Between working full-time, crafting (and trying to make a profit of it), becoming more consumed with photography, spending time with my husband, and being a mom, we're lucky to be eating, period. But, I recently got some encouragement from a reader (my cousin David) who asked me to keep posting recipes, and from today's habit post, which includes my photo of homemade coleslaw in the making (yay!). 


If you participate in a Community Supported Agriculture (CSA) program you've probably been getting your fill of cooking greens this spring and early summer. Our CSA box from Flying Cloud Farm has included them every week since it began in April, and that's fine by me. Present every week has been kale, one of my favorites. I love kale, I really do. I like it sauteed ever so slightly in olive oil with garlic and lemon zest, tossed into soup, or added to quesadillas or burritos. I came across several ravioli recipes using cooking greens, which inspired me to come up with me own kale ravioli recipe. 


I'm sure some of my Italian friends out there would be able to share their time-honored, delicious recipes for making ravioli from scratch. That's something I'd really like to try, but I probably won't have time until, say, I retire. So, this recipes relies upon wonton wrappers, a stand-in that works well and is used in a myriad of similar recipes. If you are adept at (or just ambitious enough to try) making your own ravioli, please do! In the meantime, here's a shortcut for you. 


Lemony Kale Ravioli
To save time, I made the sauce and the ravioli filling simultaneously - but for simplicity I'm listing the instructions separately.  


For the sauce: 


1 Tbs olive oil 
2 cloves garlic, minced 
1 1 lb, 13 oz can diced tomatoes 
1 14 oz can tomato sauce 
1 tsp dried thyme 
1 tsp dried oregano 
1 tsp dried basil 
freshly ground pepper 


Heat the oil in a large skillet over medium heat until shimmering, add the garlic, and saute briefly until fragrant. Add the tomatoes, sauce, and herbs, and bring to a boil. Reduce heat to a simmer and let cook slowly while preparing the other ingredients. Season with pepper to taste just before serving. Feel free to sub fresh herbs for the dried if you prefer - just use 1 Tbs of each instead.

 
 For the ravioli: 


1 Tbs olive oil 
2 cloves garlic, minced
1 bunch kale, finely chopped (it's ok if the leaves are a bit damp)
zest of one lemon 
one small container ricotta cheese 
a handful of shredded pecorino romano cheese
1 package wonton wrappers
salt and freshly ground pepper 

Heat the oil in a 10-inch skillet over medium heat until shimmering, add the garlic cloves, and saute briefly until fragrant. Add the kale and stir to coat with oil and garlic. Saute until wilted and tender but al dente, about 5 - 7 minutes. Season with salt and pepper. Scrape the kale into a medium bowl, add lemon zest and ricotta, and stir to combine. 


To assemble, place one wonton wrapper on a work surface with one corner towards you, so the wrapper forms a diamond on your work surface. Put a small spoonful of filling in the center of the wrapper, moisten two edges with a bit of water, and fold in half in a triangle shape, pinching the edges down to seal. Keep the filled raviolis covered with a damp paper towel as you work, and keep the stack of wontons covered until ready to use. 


To cook, bring a pot of salted water to a boil, add the ravioli, and stir gently. Cook for 2 - 3 minutes, then use a slotted spoon to transfer them to a colander to drain. Serve topped with sauce.  


You can easily freeze leftover ravioli - just place the filled but uncooked ravioli in a single layer on a baking sheet, cover with saran wrap, and freeze for about 1 hour, then transfer to a sealed container to store. To cook, toss frozen ravioli into boiling salted water and cook until tender, 4 - 5 minutes. You can also make what you want for one meal, then save the remaining filling and wonton wrappers tightly covered in the fridge until the following day. 


When making this I haven't gotten my proportion of filling to wonton wrappers just right - I had a bit of filling left over. I've saved it in my fridge to use as a sandwich spread this week. The ravioli would taste equally delicious with any other kind of sauce - a white wine, butter and herb sauce would be delicious, or just some fresh tomatoes and basil gently sauteed in olive oil. Or, just toss them with olive oil and shredded pecorino romano. 


It's ok if some of the raviolis come open while cooking. According to Lynne Rosetto Kasper, old Italian ladies she spoke with said this is a good thing, as it imparts even more flavor on their ravioli by enriching the cooking water. It's always nice when imperfections have a purpose. Enjoy!!


Wednesday, May 12, 2010

my mom's easter bread

Last summer, shortly after I started this blog, I was home in Ohio at my dad's house. I snapped the first header photo for this blog, wandered around the yard using the old picnic table as a backdrop for the FiestaWare's bright colors. I stumbled upon a couple of recipes that remind me so much of my mom, of my childhood. I was so happy to find her recipe for tomato salad, which I posted a few weeks later. I also found a small, faded paper booklet full of feast bread recipes from around the world. Inside was a treasure I remember well from childhood - Kulich. This is a sweet, yeasted bread that my mother made every year at Eastertime. I was so happy to have found this recipe, so happy to be able to carry on this tradition for my family now.


Baked in old coffee cans, this feast bread puffs up over the top of the can, creating a dome perfect for drizzling with sweet, confectioner's-sugar-based icing. Although the original recipe calls for topping the bread with lemon icing and candied fruits, my mom always used plain confectioner's sugar icing and multi-colored sprinkles. In our house, the rule was always that the oldest child got to eat the frosted top. As the youngest, not just in my immediate family, but the youngest cousin in my generation on either side of our family, I thought this rule was completely unfair. I, of course, would never be the oldest child. Until now.


I intended to make this bread at Easter this year, but instead was traveling to my Uncle Roger's funeral at the time so could not. It's a bit late this year, although it's still technically Easter in our church. This was my first time making the bread on my own, and I have some questions I would love to ask my mom. She must have used more than the two cans called for in the recipe, because my two loaves came so far out of the top of the cans that they took on a life of their own.


I used raisins as called for but I'm pretty sure she used currants. The recipe also calls for mixing the entire thing with a mixer, which I did, but I'm pretty sure my mother never did. She most likely mixed it by hand, with a wooden spoon in the big pink Corningware mixing bowl, the pull-out metal work surface of the Hoosier her backdrop. I'm going to take this approach next time, because I think the texture will improve. And next time I'm going to toast the blanched almonds before using them. The recipe below, however, is unaltered from the original. I'll post an adapted version in the future - maybe next year, when I'll follow the rules and let Dora eat the frosted top.

Kulich - Russian feast bread

3 - 3 1/2 cups flour
1/3 cup sugar
1 Tablespoon (or 1 package) active dry yeast
1 teaspoon salt
1/2 cup milk
1/4 cup butter, cut into pieces
2 eggs plus 2 yolks
1 1/2 Tablespoons lemon zest
1/4 cup raisins (or currants)
1/4 cup blanched almonds (try toasting them first)


Icing:
1/2 cup confectioner's sugar
1 Tablespoon milk
1/2 teaspoon vanilla
sprinkles

In a large bowl mix well 1 cup flour, the sugar, yeast, and salt; set aside. In a small saucepan, heat milk and butter over low heat until very warm (120 - 130 degrees) - it's ok if the butter doesn't melt. Gradually add to flour mixture; beat at medium speed 2 minutes, scraping bowl occasionally. Add eggs, yolks, lemon peel, and 1 cup flour; beat at medium speed an additional 2 minutes, scraping bowl occasionally. Stir in raisins, almonds, and enough remaining flour to make a soft dough that leaves the sides of the bowl. Turn out on a lightly floured surface; knead 8 to 10 minutes, adding flour as necessary, until dough is smooth and elastic.


Place in greased bowl, turn to grease top. Cover; let rise in a warm place about 1 hour or until doubled. Generously grease one 1-pound coffee can and one 1-pound fruit can (remove paper labels). Punch down dough; place in cans, half-filling each. Cover; let rise in warm place about 1 hour, until-doubled. Bake in preheated 350 degree oven 25 - 35 minutes (check fruit can after 25 minutes) or until tops are golden brown. Remove immediately from cans and cool upright on wire racks. To make icing, whisk together milk, confectioner's sugar, and vanilla until smooth. Frost tops with icing, letting it run down sides. Decorate with sprinkles. Slice off the top and give it to the oldest kid in the room, or eat it yourself when no one's looking.

Monday, March 29, 2010

orangette brownies

I was inspired to begin writing this blog after stumbling across the food blog Orangette. I read the author's words and studied her photography and thought, "I bet I could do that!" At the time, Molly Wizenberg, creator of Orangette, had not only built a loyal readership, she had wooed editors at Simon and Shuster as well as Bon Appetit, had met and married her future husband through the blog, and was on the cusp of becoming a restauranteur with said husband. To say that her blog is a success is a bit of an understatement.


Once I began writing, and shooting all of my early photographs with my trusty iPhone, I saw that not only did blogging NOT come with an immediate rise to fame, it was quite a bit of hard work as well. Although the blog itself has evolved into territory I didn't really anticipate, I still love writing about and taking pictures of food. I'm pretty sure I'll never be a cookbook author or a columnist in Bon Appetit, but as a person who loves to read about, think about, and create homecooked wonderfulness (or something like it) every day, I'm still going to be a food blogger, at least now and then.


So, in honor of the blog that inspired me to start this journey, here are some Orangette brownies, inspired by the French confection of the same name and adapted from several brownie recipes, including one in my trusty Moosewood Cookbook. These brownies feature that lovely, nearly indescribable intersection between orange and chocolate. They aren't too sweet and, based on actual scientific research (and by this I mean a group of my closest friends and their kids), are appealing to both adults and children.


Orangette Brownies

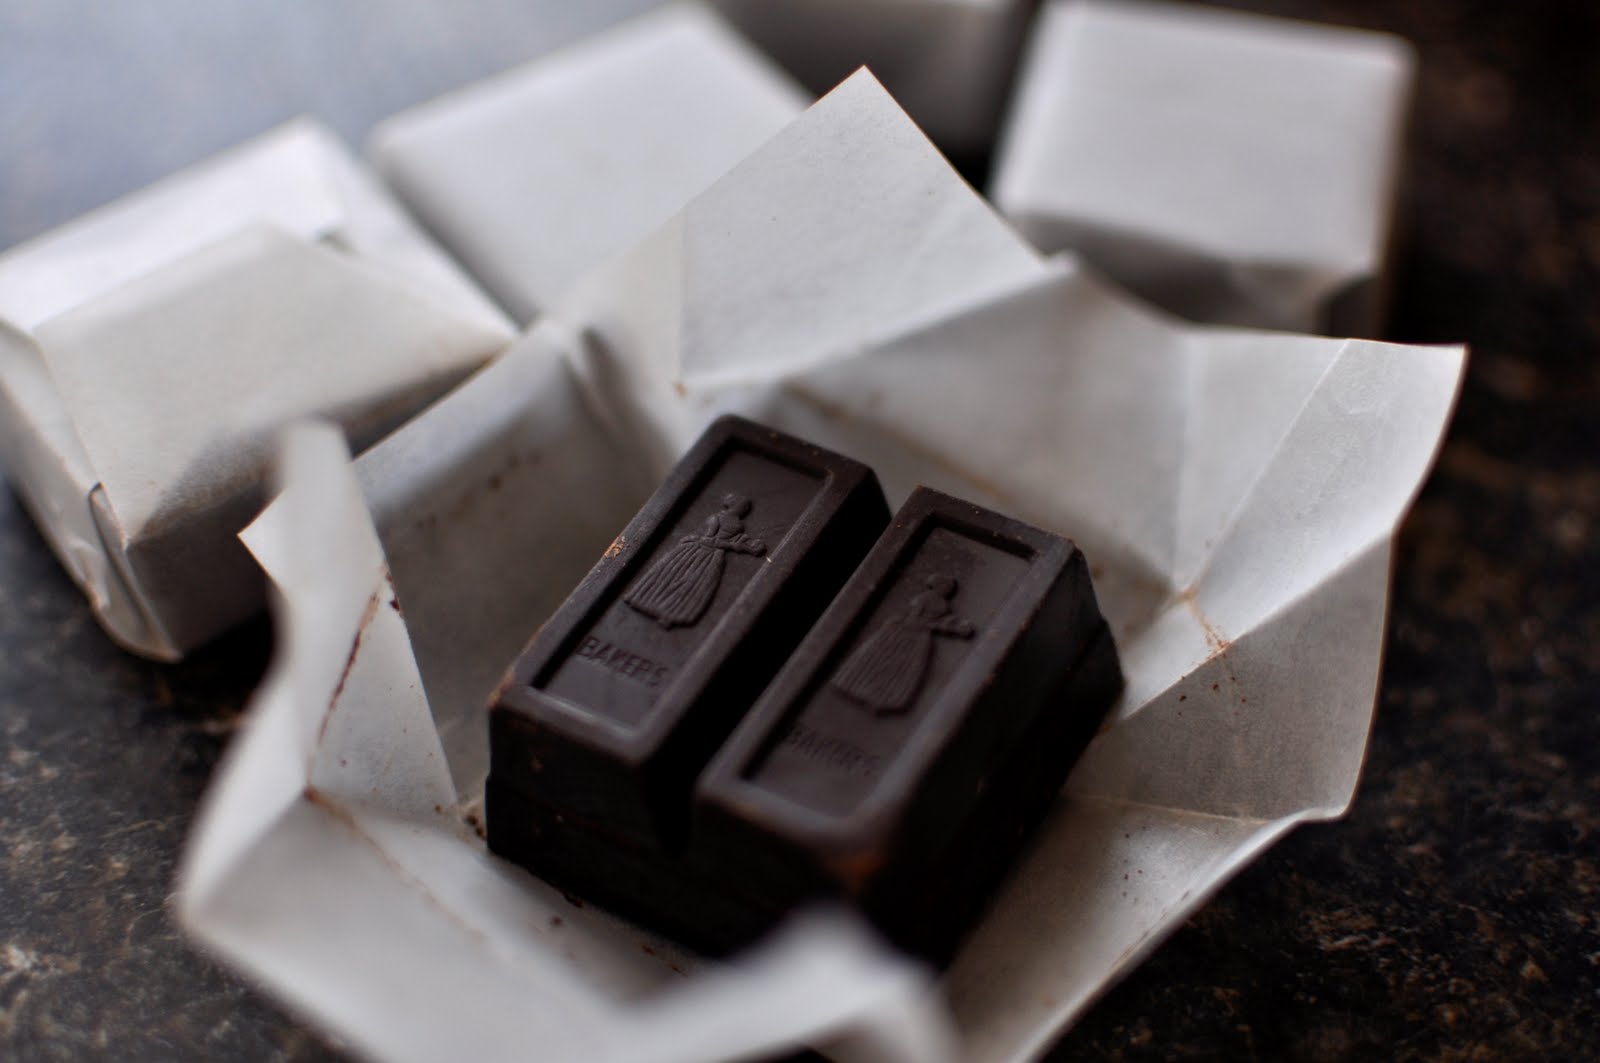
5 ounces unsweetened baking chocolate
2 sticks butter, room temperature
1 and 1/4 cups brown sugar, packed
1/4 cup white sugar
5 eggs
1 1/2 teaspoons vanilla extract
zest of one orange
1 cup toasted and coarsely chopped almonds
1/2 cup flour

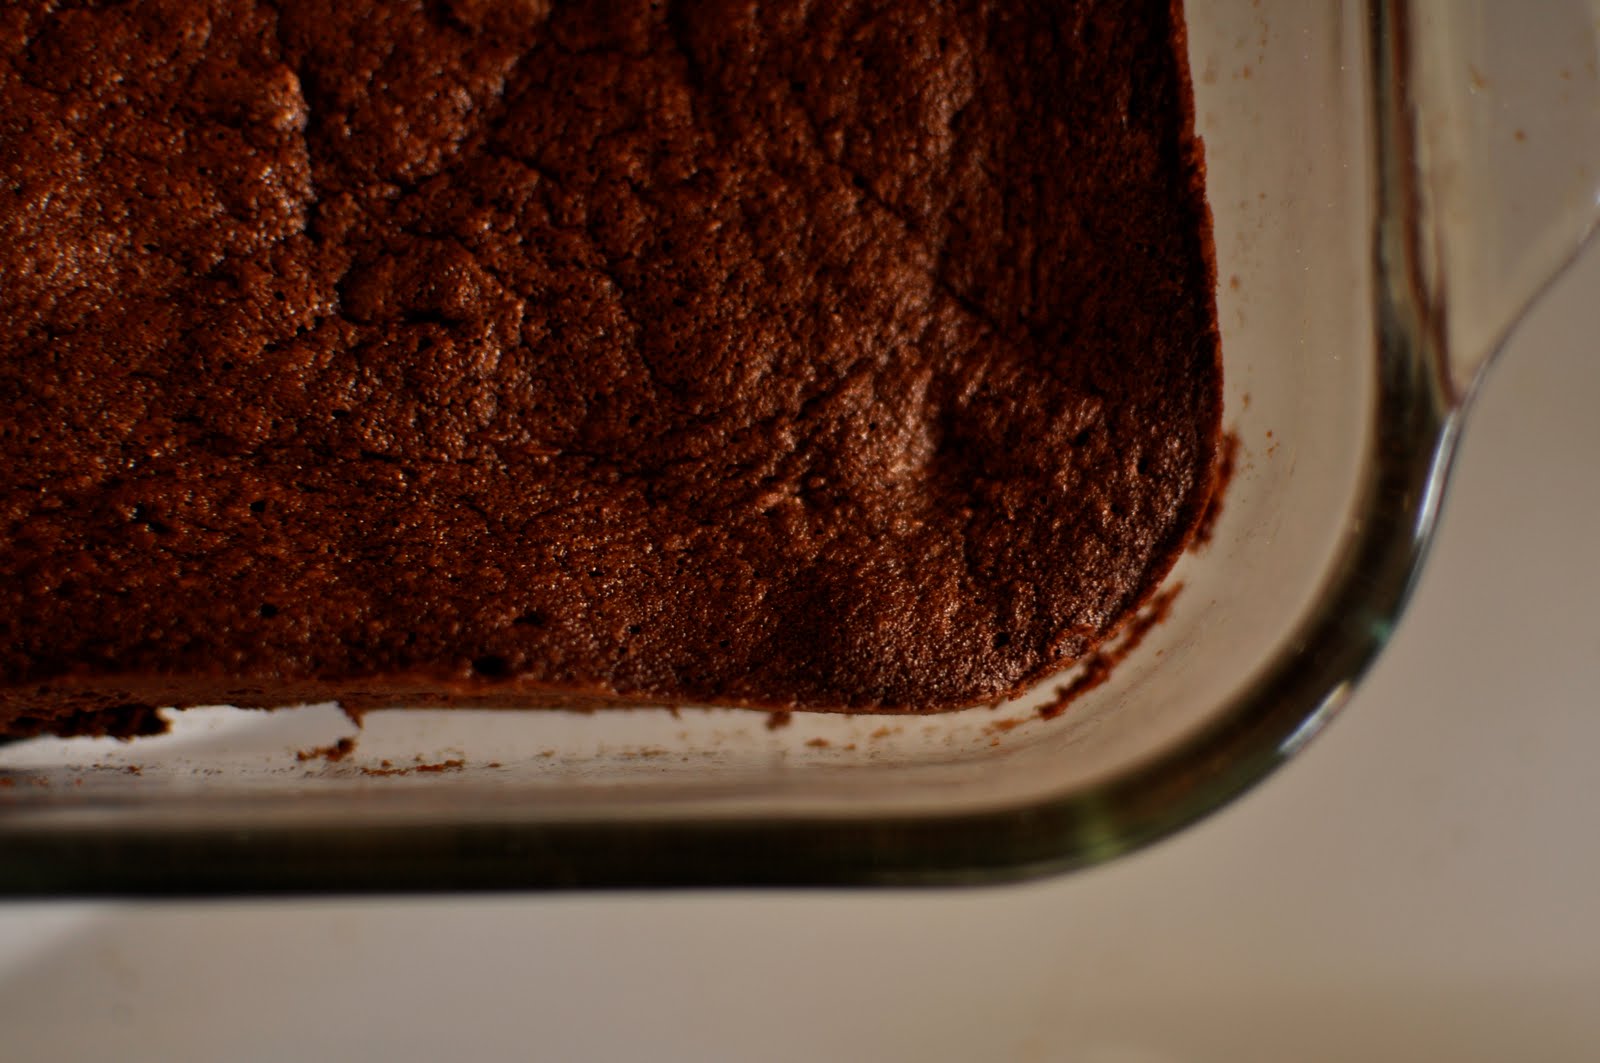
Preheat oven to 350. Gently melt the chocolate per package instructions and set aside to cool. Cream the butter and sugars until light and fluffy, reserving the wax paper butter wrappers to grease your 9 x 13 inch baking pan. Add the eggs, one at a time, beating well after each. Stir in the vanilla and orange zest. Slowly stir in the flour, stirring just enough to combine. Fold in the almonds. Spread into the prepared pan.

Bake for 20 - 25 minutes, until a knife inserted in the center comes out clean. Serve while still warm, with a smile and your loftiest aspirations.